Uncategorized

Preparing your 3D printed props (Part 2)

This should’ve really been part 1, but hey, we’re all human.

This post is dedicated to how to assemble 3D printed props. There are many ways to glue things together and I’ll go over some benefits of each.

Fresh off the printer, your pile of 3D printed parts gathers dust. You’ve been keeping your printer busy but haven’t gone through the effort of assembling the multitude of pieces. Stop – breathe – and consider the following:

  • Super glue
  • Gap filling super glue
  • Acetone slurry (ABS prints only)
  • Dichloromethane
  • Filament friction welding
  • E6000
  • Two part epoxy

Super Glue

Pros

  • Easy to apply
  • Strong bond
  • Possible to un-bond with un-cure
  • Possible to instantly set with accelerator

Cons

  • Nozzle gets stuck and you have to deal with clearing out the tip with each use
  • Not good for small pieces where there is very little surface area between two pieces

Gap-filling Super Glue

Everything from above, but it’s just thicker and easier to apply (in some cases)

Acetone Slurry

Made from dissolving ABS filament in a jar of acetone to create a glue made from the filament itself.

Pros

  • Cheap, easy to make
  • Can vary consistency by adjusting the ratio of acetone to filament
  • Will remain usable as long as it’s sealed properly
  • Okay-ish in strength (so I’ve heard, I don’t print in ABS so I can’t vouch for it personally)

Cons

  • Difficult to apply
  • Can be difficult to make if the filament doesn’t fully dissolve
  • V A P O R S
  • Requires filament to make the glue

Dichloromethane

A solvent (like the acetone slurry) that when applied, lightly melts each side of the gluing faces together for a solid bond. Comes in super thin and gel-like consistencies.

Pros

  • The thin and gel versions have different applications – the gel is good to treat like super glue while the thin is good to drip over an already glued seam
  • Overflow is easy to cleanup, the consistency of dried hot-glue

Cons

  • V A P O R S
  • Hard to apply (if it’s thin, you can put some on each gluing face, but if you put too much, it’ll run right off. However, you CAN apply the thin version to the seam after it’s been glued to reinforce the joint. You cannot do this with the gel version as it will just sit on top and slowly eat into the plastic.
  • Not cheap
  • Is it strong? My experience has been mixed – sometimes it’s been good, but sometimes when there’s a ton of surface area, it easily breaks apart when pressure is applied to the joint. This was with me applying the gel solvent to each side, smushing them together, then shearing them a little bit to spread the glue.

Filament Friction Welding

Pros

  • Strong when done right
  • Good for attaching pieces with small surface area as it uses the circumference of the gluing cross-section

Cons

  • Requires practice (I used this video as a guide)
  • Requires a rotary tool
  • Cannot be used in all cases – requires the seam be easily accessibly everywhere for the best bond

E6000

Your standard craft glue, dries to a caulk-like consistency. I’d use it more for fabrics and not 3D printed pieces.

Pros

  • ???

Cons

  • Motherfucker takes forever to dry
  • Not super strong from my experience
  • Overflow is like dried hot glue, but difficult to remove at times

Two Part Epoxy

Pros

Cons

  • Can be messy
  • Expensive
  • Easy to over-mix and waste epoxy
  • If working with an epoxy with a short working time, you MUST respect the time window

Alignment holes and clamps

Personally, I’ve been using dichloromethane and epoxy for most pieces in combination with alignment pegs. Alignment pegs are basically aligned holes you drill into the gluing faces and then stick some sort of support pieces in the hole, like a nail with the head cut off or for larger pieces, a steel threaded rod. There are two ways to prepare alignment holes. One is to not include them in the model and simply drill a hole into the printed pieces with an electric drill. There are two problems with this method: One is that the holes can easily be mis-aligned, or even if they’re aligned, be drilled at angles which are not aligned. The other is that you can drill a hole into the surfaces, stick a nail into the hole and BAM, the nail goes all the way through into the print and is now rattling inside, driving you insane.

The other method is to include them in the model. You can manually add the holes in the original modeling software (Fusion 360, Maya, Solidedge, etc.) or you can use Netfabb to slice the model and add pins and holes. I don’t add pins, but instead put holes on each side and use my own pins. You can’t fully customize the location of the pins and sometimes the auto-holes can get you in weird spots, but it’s worth checking out if you don’t own a drill and since you can fully inspect the model before printing.

Clamps. Clamps are great. I have a set of quick-release clamps from various manufacturers (Irwin, DeWalt, whatever the brand from Harbor Freight is) and they all perform the same for what I’m doing. I’m not applying tons and tons of pressure, I just need to smush the sides together and keep them in position long enough for the glue to take effect. To that effect, I use two different types of clamps. Quick clamps and deep throat c-clamps. At first, I only used quick clamps, but I came across an issue for large, flat pieces where I could clamp the edges, but I couldn’t reach the center surface and sometimes piece ended up being glued aligned at the edges, but mis-aligned at the middle. To solve this, I ended up just buying some deep throated c-clamps and clamping them in the middle.

quick clamps in x and Y axes and c-clamps in z axis because the quick clamps couldn’t reach that far in the middle

Buying these c-clamps was a great investment only because of the sheer amount of fucking pieces I need to clamp (crescent rose, kill me now). I currently have four 4-inch quick clamps, two 7-inch quick clamps, a 1-foot quick clamp, a 2-foot quick clamp, two 3-inch deep c clamps, and an 8-inch deep c clamp. This set of clamps has gotten me through most gluing projects given that I glue at most, one thing at a time.

Other resources

https://www.thistothat.com

Good luck~

Preparing your 3D printed props (Part 1)

Introduction

One of the benefits of working with 3D printed props is the fact that you can produce a high-quality finish using some basic techniques. volpinprops is a great example of what’s possible. Henchmen studios and Married Makers are also producers of some high quality props. Henchmen does a lot of resin casting, Volpin does about 70/30 casting to working just with 3D printed props, and MM does most of their work directly with the 3D printed product. Let’s get into some of the techniques they use.

SAFETY

Please wear respirators and proper eye protection when working with some of the mentioned products. No one wants to breathe in VOCs or get epoxy in their eye. 

Surface Preparation

It doesn’t really mater if you print at .1 or .2 layer height unless you need some super detailed parts. At that point, it might be better to either use SLA printing or craft the details by hand. For the remainder of the 3D printed product, there are two steps which you will have to repeat.

Fill.

Sand.

The truth

Fill

This is the process of filling in the gaps of your 3D print layer lines. There are a few options to work with:

  • XTC-3D
  • Automotive filler primer
  • Bondo
  • Acrylic putty
  • Baking soda + THIN super glue
  • Acetone bath

Let’s talk about each of these in some more detail.

XTC-3D

XTC-3D is a type of epoxy that you cover your print with. When the epoxy cures, you have a hard, resilient coating that completely fills most layer lines. One huge downside of this approach is that you have very little control on how much the print is smoothed. The epoxy is typically spread via a popsicle stick and there’s not a typical “working time” where you have some time to make adjustments to the surface. Once the epoxy is on, you’re better off just leaving it as-is and sanding it down later. Along with providing a super-fast way to smooth prints with little-to-no effort, you lose a lot of details and sharp edges. it may be good for large, convex surfaces, but for detailed work, it’s not an option. 

Automotive filler primer

This is basically paint primer that comes in a can and has a very thick and airy consistency when sprayed. When dry, it settles down to a thinner coat, but it’s very easy to apply too much in one area. Luckily, unlike regular spray paint, we can always sand it down. The obvious downside is that you’ll end up going through more sandpaper. 

When most people mention “filler primer”, they mean the automotive stuff that comes out of the can. It’s relatively cheap and gives you amazing control over the end product. Combined with multiple passes, sanding with increasing grits, and patience, you can achieve an amazingly smooth surface (See some of volpinprops’ work!).

The downside of this approach is the time and physical work of sanding involved. You’ll need lots of sand paper and an area to spray paint. You’ll get creative with sanding solutions, like gluing thin strips of sandpaper to popsicle sticks to make small sanding sticks, or rolling up small pieces of sandpaper into flexible strips for sanding inner curved surfaces. Don’t let the sheer amount of work dissuade you however, as the labor of fill/sand/fill/sand/ad infinitum can seriously upgrade the quality of the final product.

Bondo

Bondo is technically an automotive body filler, typically sold in metal cans as a two-part solution that is mixed together prior to application. Bondo is applied as a light-weight paste for small to medium imperfections. It’s spackle, but for cars. 

When someone says “bondo”, they likely mean this stuff. It comes pre-mixed, has a thicker consistency, but is much easier to manage as you don’t have to worry about preparing too much of the two-part bondo. Both products dry into an extremely easily sandable product, and as such, should be applied towards the end of the finishing stages. Automotive filler, bondo, and sanding will get you a long way in terms of quality. 

Acrylic putty

It’s basically the same as bondo, but cheaper. Punished Props likes to include this on their part list instead of bondo – and since I trust them despite not having used it myself – I’ll include it here.

Baking soda + THIN super glue

This combination of products provides a strong, quick-setting filler. Bondo is NOT good for filling joints – it’s mainly a scratch and surface prep paste and has little to no structural strength. In order to use this combo, you need to pack as much baking soda into the joint or gap to make a flush surface. Don’t pack too much at once however – it’s ok to work in chunks. Once you have the baking soda in the gap, apply a small amount of THIN super glue and it will rapidly spread through the baking soda and harden in seconds. When I say thin, I mean water-consistency thin.

The finished “resin” is easy to sand and is as durable as you’d expect from super glue. Credit to Bill from Punished Props as he’s the first person I’ve heard of this technique from. 

Acetone bath

Acetone baths are primarily only for ABS prints – which you should be printing in anyways. (In addition to the previous link, ABS is easier to sand than PLA. PETG is also a good option instead of ABS as it’s also a high-temp thermoplastic.) There are two application methods for the acetone bath – applying the acetone directly onto the print, or soaking the acetone into a medium (tissue paper/paper towel) and then enclosing both the print and the medium in a small space, like a cup. Since acetone smoothing smooths all surfaces, it leaves the print less detailed, just like XTC-3D. This is not a technique I recommend as you lose a lot of control over the finished product. 

Sand

I recommend sanding with the following:

  • regular sandpaper (grits 60, 80)
  • wetsand sandpaper (grits 200, 400, 800+)
  • files 
  • orbital sander + earplugs
  • popsicle sticks + glue (for makeshift sanding sticks)

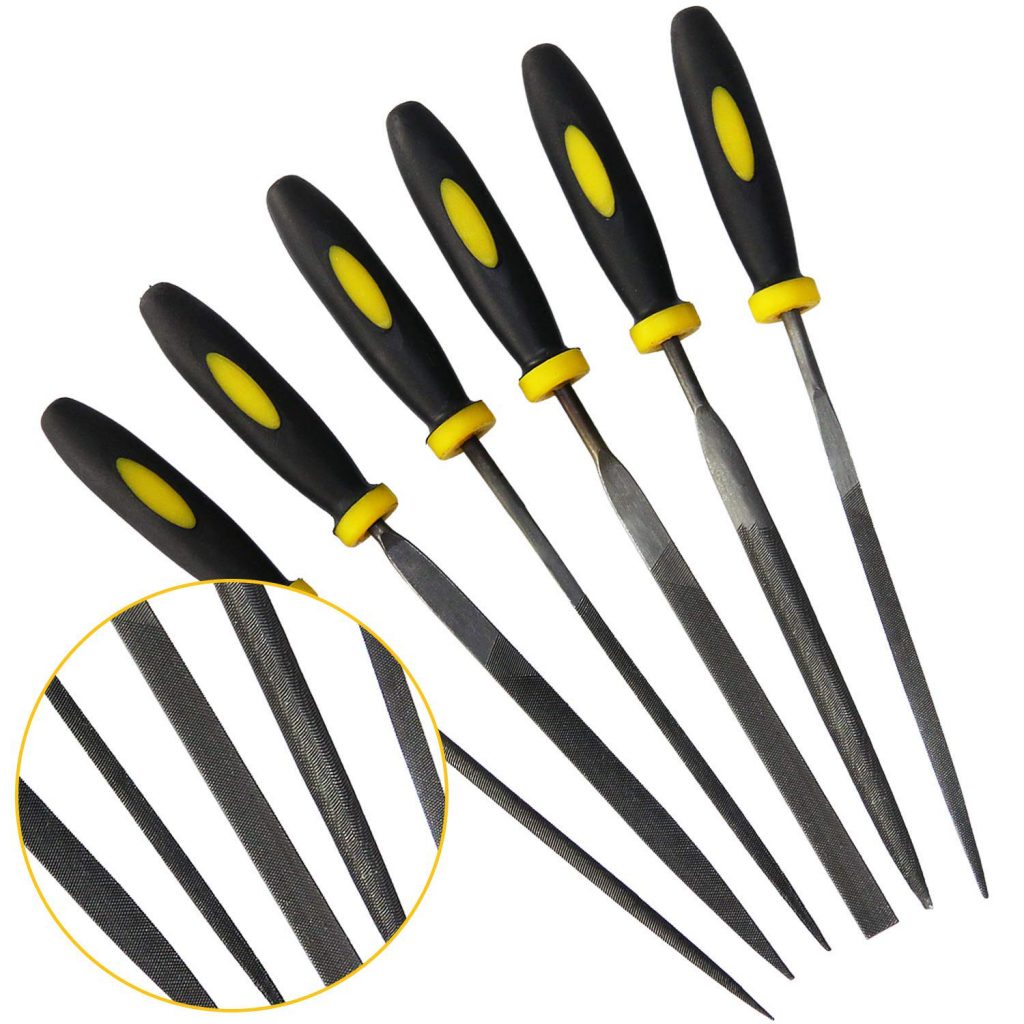
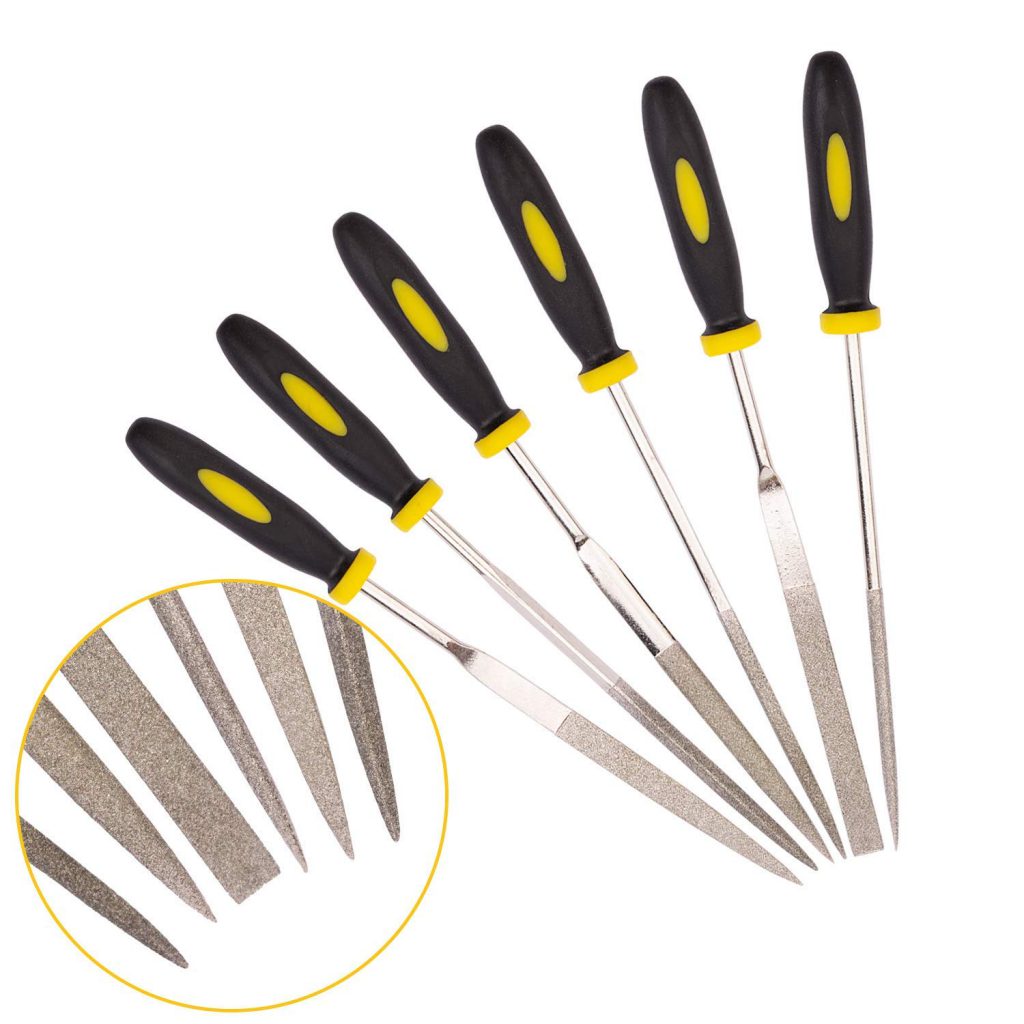
I really like using these two files:

When choosing a small file set, you will want to make sure the files are actually sliced, and not a diamond file. A diamond file will not sand effectively with 3D filament and get clogged quickly. 

Left = good, right = diamond cut

An orbital sander is well worth the investment if you find yourself working with large, flat surfaces, or even convex surfaces. After using it a few times, you’ll start to want using it as often as possible!

Final comments

It’s almost always worth it to spend the time with the following:

  • sand a finished print with 60 grit sandpaper
  • spray it with filler primer
  • sand again at 220
  • spray a second, thinner layer of filler primer
  • sand at 400
  • apply bondo
  • sand at 800+ 

You can always skip the last 2 steps if you don’t feel the need to use bondo. Preparing your print in with these steps will add another 2-4 hours of working time and likely 1-2 days more total time. I usually wait 12 hours for my print to dry before sanding, and at least 6 hours after I wetsand to apply the next coat, so the total time adds up when working with multiple coats. 

There are sneaky workarounds to certain applications – I’ve seen people lasercut sintra for flat areas, configure their 3D model to have deeper details, and fill in those same details with a piece of sintra. This reduces the need to sand difficult-to-reach interior surfaces and can (potentially) drastically reduce total working time, depending on what the shape is. 

The stigma of 3D printing

Before I had access to 3D printing, I felt it was a bit of a cop-out to the all-foam approach.

  • How could a manufacturing method based on automation be considered “homemade”?
  • Did you really make it yourself when you have a machine make it for you?
  • How is it different buying a piece of your cosplay online than making it on a 3D printer?

After having my printer for over two years, I feel I can answer some of these questions now.

How could a manufacturing method based on automation be considered “homemade”?

A 3D printer is just a tool, and like any other tool in a cosplayer’s kit, a tool is only as good as its user. There’s a saying that is somewhat related:

If all you have is a hammer, everything looks like a nail

The more tools you have access to, the number of ways you can make things increases. Sure, using a 3D printer may seem like a cop-out, but here’s what you don’t consider:

  • Learning how to even use the damn thing
  • 3D modeling
  • Slicing the 3D model so that it prints successfully
  • Preparing a raw print for painting
  • Added complexity of a machine that intermittently fails/clogs/messes up (all 3D printer owners have been here at some point)

Did you really make it yourself when you have a machine make it for you?

Yes. Just because the process of manufacturing changed from cutting foam and gluing it together to extruding plastic from a hot end, there is still a human behind the process. There is something to be said for the apparent skill-level of manufacturing an item using these two methods, but keep in mind the list above. It may be easier to give someone who has never made anything in their life a 3D printer and have them crank out good-looking parts when compared to having to teach them how to cut and assemble foam, but just because someone printed something out does NOT make their approach any less valid than a more manual method.

An example of a tool that might seem like “cheating” is a foam cutting knife, also referred to as a hot knife. Turning difficult cuts into trivial cuts may leave “purists” upset, but the fact of the matter is, a tool is only as good as the hand that wields it. I’ll probably repeat this later again.

How is it different buying a piece of your cosplay online than making it on a 3D printer?

One is purchasing the time, money and skill of whoever made the item, while the other is still spending time, money, and skill, but probably weighted with more of an emphasis of money. The cost of a 3D printer isn’t exactly cheap after taking into account various upgraded/modifications (I’m not happy to admit I spent like $600 on upgrades).


3D printing is not by itself an easy-way-out for cosplayers looking to cut corners and speed up their manufacturing process. If you need to make the same piece repeatedly (think scales), then 3D printing seems like the way to go, but using it just for a single prop may not be worth the effort required to set up a repeatable production from beginning to end. That’s basically what 3D printing guarantees – given some input (3D file), you’re almost always going to get the same output, barring irregularities in the printing process.

Disregarding 3D printing as a tool also means you probably won’t approve of the following AWESOME tools:

  • Laser cutter
  • Vinyl cutter
  • Vacuform machine

I’ve used the laser and vinyl cutter and – while not for cosplay – they opened up so many avenues of construction that I even managed to open an Etsy shop for a while because of it (no longer open since I don’t have access to a laser cutter).

Leaving out 3D printing is doing yourself a disservice by limiting your crafting potential. One of the BEST parts about 3D printing is that I can make something while my printer is working (less likely), or I can just sleep and wake up to a finished part (more likely). Don’t shun 3D printing, it has a lot to offer.

This is something I’ve wanted to put into words for a while.

My printer

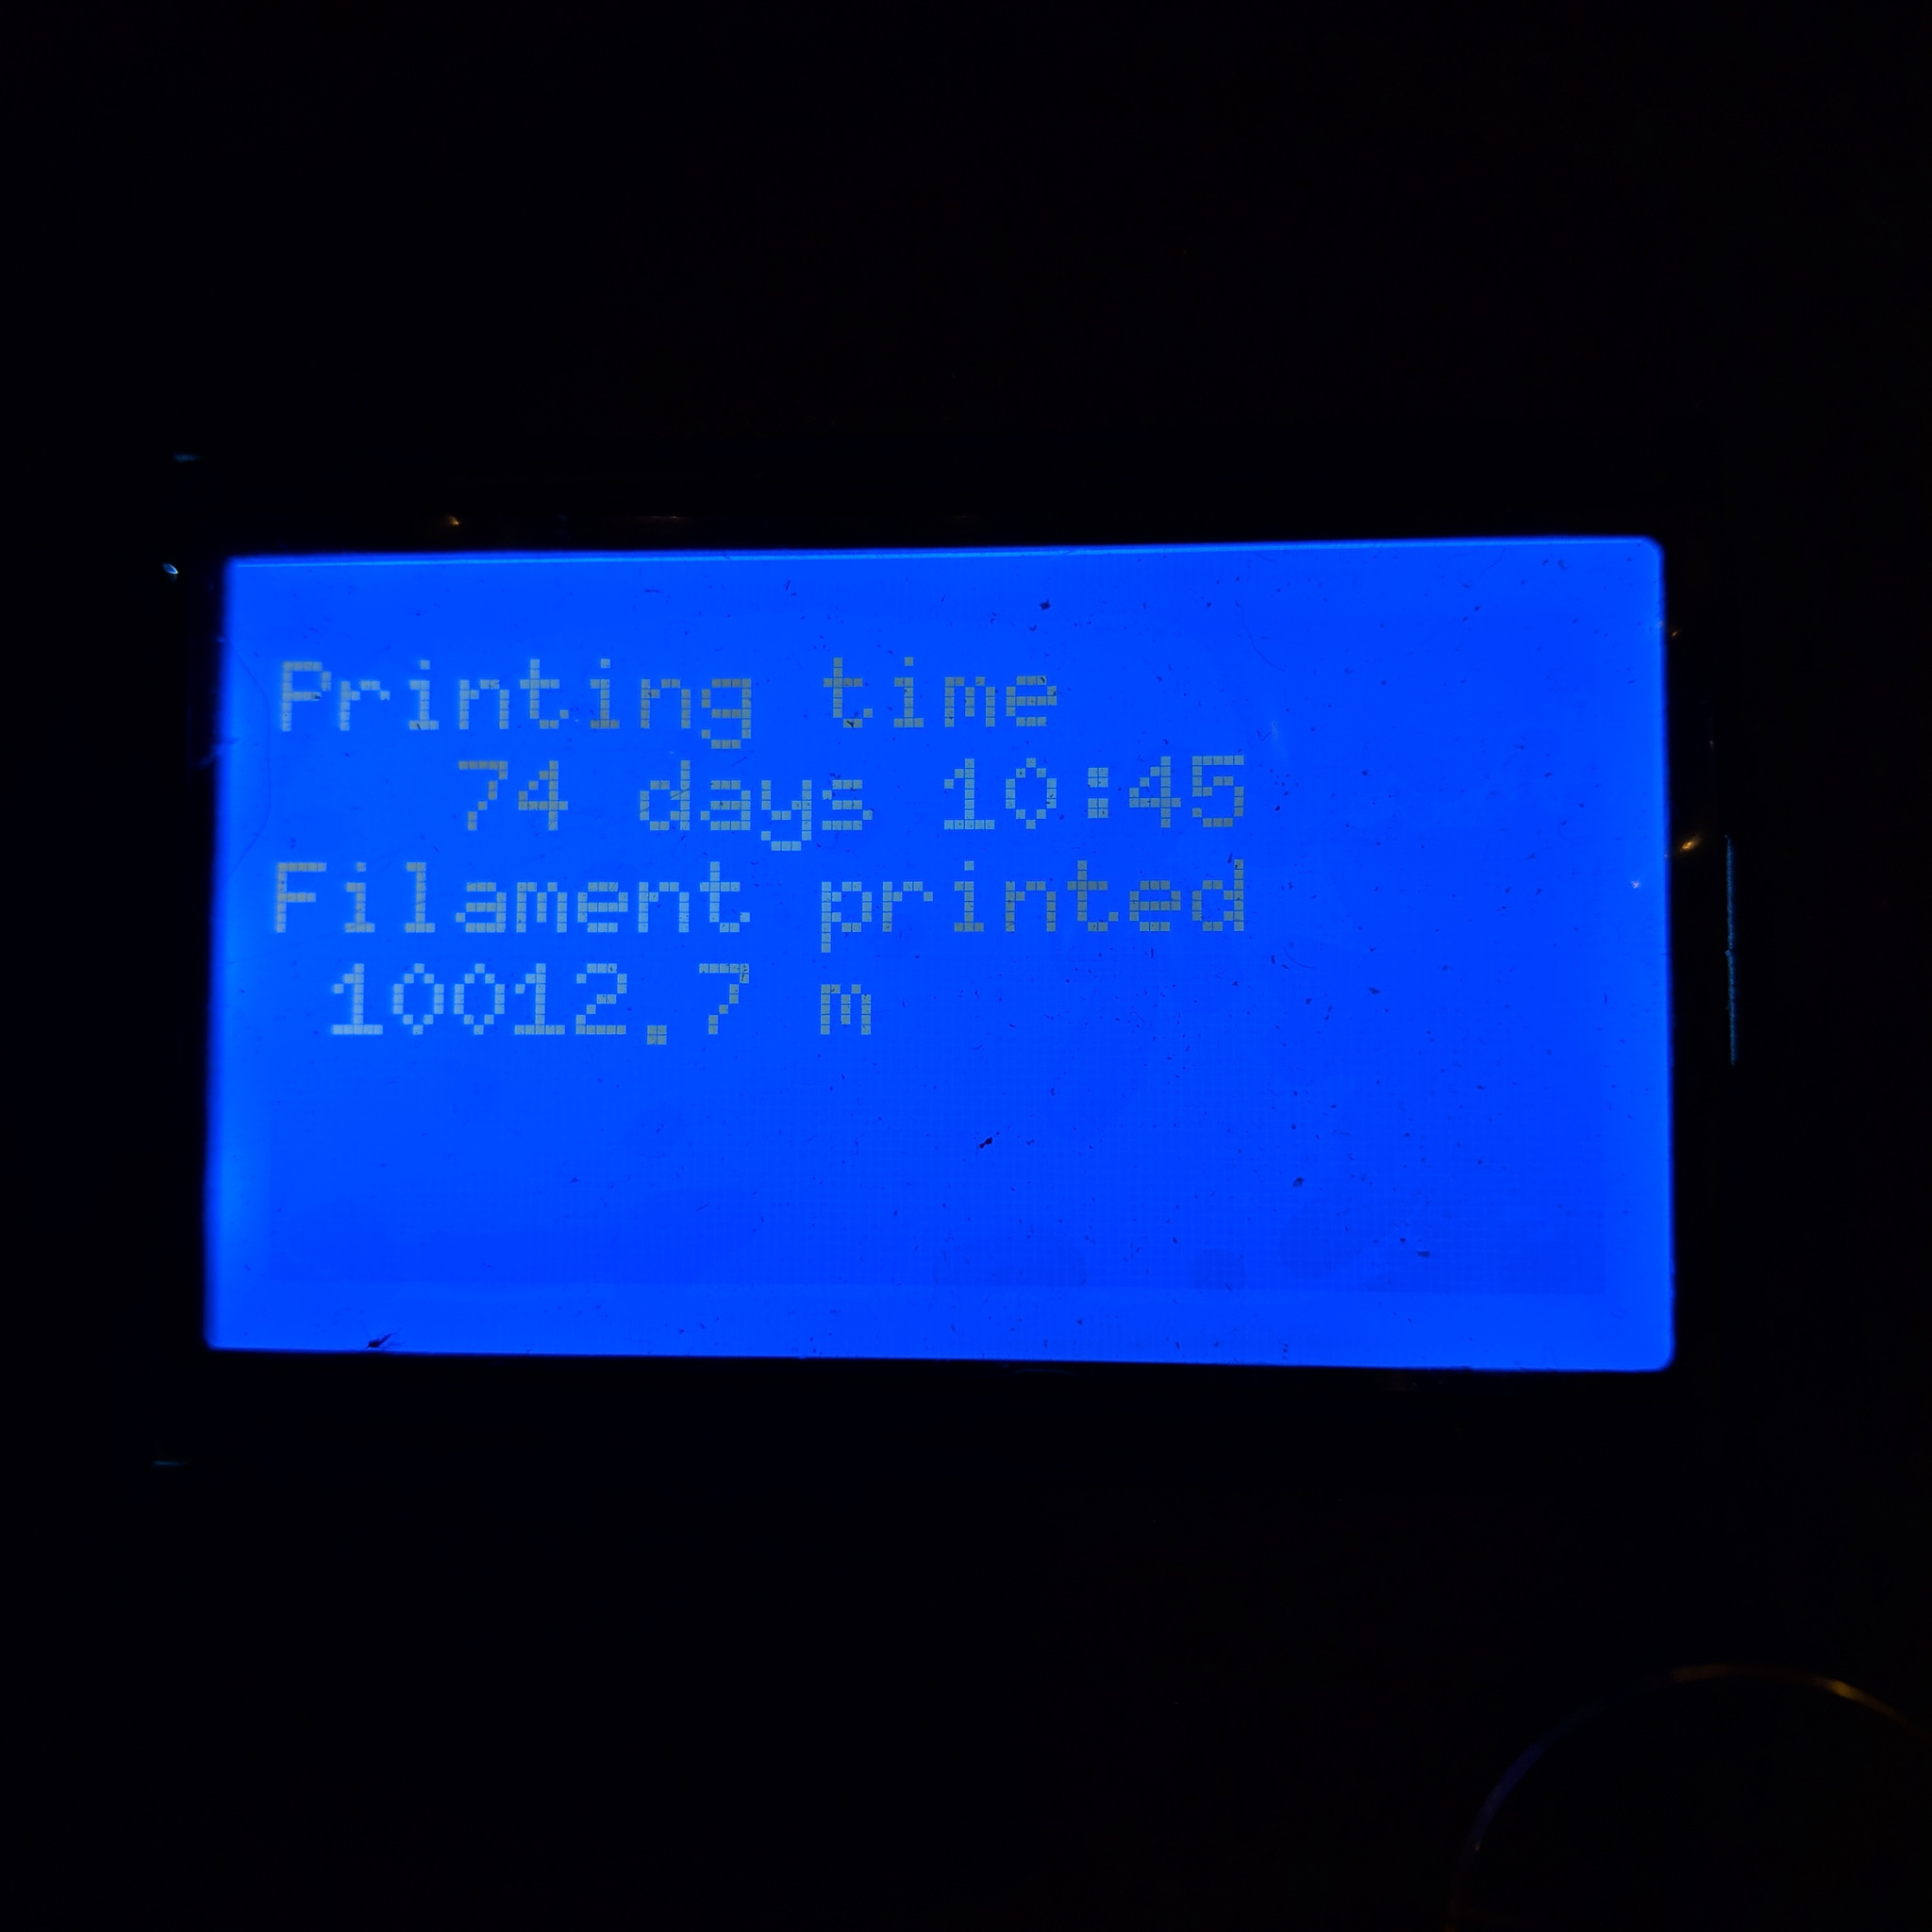
I bought a Monoprice Maker Select v2 printer about 2 years ago and I’m still using it now.

I’ve spent over $600 on upgrades, replacement parts, and modifications in order to make it last so long.

This is a link of all the upgrades I’ve made

Several of the items on the spreadsheet are duplicates as it’s more to keep track of what I’ve spent, rather than what is the de-facto solution to a specific problem. Several of the upgrades were a result of careless operation of the 3D printer, so if you’re more careful, you won’t spend as much as I did.

I’d say the biggest upgrades are the all-metal hot end and swapping out the power module. The former for quality, the latter for safety. If I knew I would spend a total of $1000 on a 3D printer, I would’ve opted to invest in a Prusa i3 kit.

Indirect upgrades

In addition to all the modifications of the printer, I’ve also built an enclosure for it following Punished Props’ video.

Look at this bad boy

The end result was improved bed adhesion when the ambient temperature dipped low enough (below 90) to make PETG shrink when cooling.

OCTOPI – SMH

So it turns out that when I installed Octopi on my Raspberry Pi 3… I unknowingly handicapped myself and wasted a good 30% of my resources. I would log into the Octopi interface, upload my file, start the print, and then RANDOMLY, just, fucking RANDOMLY, my prints would stop. Sometimes it would be right before the end of a print, sometimes it would be 10 minutes after I started. There didn’t seem to be any connecting dots between the failures. I replaced the SD card, reinstalled Octopi, replaced the USB cable, but nothing worked. After several months of failed prints, I simply acknowledged that there was something wrong with my printer and that this is how it would be from now on.

After half a year of the printer stalling mid-print and experiencing numerous unexplained timeout messages, I thought to just remove the rPi from my workflow and simply upload files directly to the SD card and stick that into the printer. I get no fancy temperature graph, no fancy ETA, no remote administration, but GUESS FUCKING WHAT. The prints stopped failing. There has not been a single stalled print since this change some 4 months ago.

The moral of this anecdote is to thoroughly AB test when troubleshooting and to just not use OctoPi.

That’s it for now, but I’m sure I’ll have more to say at some point.